|
A few days ago I had bought a few KGs of professional lindt chocolate to play with. These chocolates are classified one of the top grade chocolates, known as couverture chocolates due to their high content of cocoa butter. 36% - 40%. Most of the 99cent chocolate bars out there you buy in the grocery stores don't even contain any cocoa butter, they use shortening instead. So I just thought I share the process of how these chocolate molds are used and the end results of my chocolate treats.
Some chocolates that you buy from ingredient suppliers will offer them in blocks in which you have to break them apart at home to melt them quicker, and some will offer you in smaller chips like in the picture below.
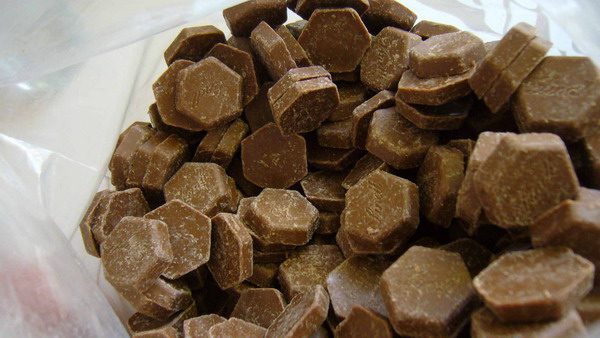
I suggest you go for the chip sized chocolates, overall it's just less hassle to deal with. Cutting and breaking down chunks of chocolate is not a fun job to do, and most of all it's fairy dangerous to people who aren't naturals at knife handling. They come a tab bit more expensive compared to the big clunks of chocolate, mostly just due to the extra labor work the chocolate company have to invest in. But trust me, it's worth it, what's a quarters more compared to losing a few fingers.
So the first step of to melting chocolate is to apply heat but there are many methods to melt chocolate and I am using the "double boiler" method. The "Double Boiler" method is simple and efficient; all you need are 2 metal bowls and fill one with hot water. The second one is for the chocolate to melt in, and you place one over the other, making sure the top bowl with the chocolate in it cups over the bottom bowl containing the hot water. The hot water will heat up the bowl above and therefore melting the chocolates.
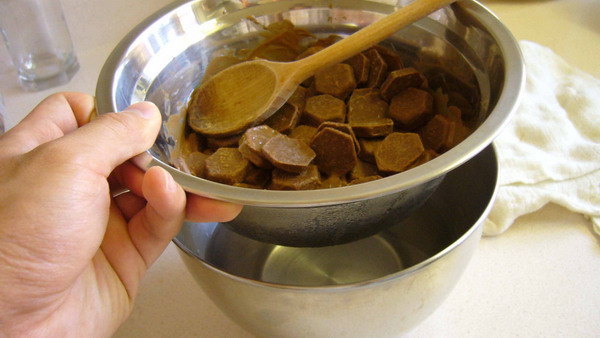
As you can see in the picture, two bowls, one with hot water and the other with chocolate. During this step, and especially when working with chocolate, you don't not want to get any water droplets into the chocolate mixture. That will totally ruin the chemistry of chocolate, which we will not get into yet, but water and chocolate is a total NO-NO.
While the chocolate is melting, you don't have to stir it constantly, just relax and be patient. It will take a bit of time for the chocolates to completely melt if your water is not boiling hot, but I assure you they will melt in time. Chocolate has a melting temperature of 32.2C which is just a few degrees below the average human body temperature. That's why quality chocolate melts in your mouth and not in your hands.
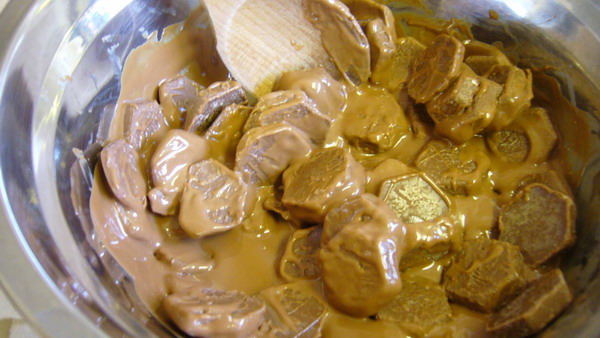
I like to use a wooden spoon to stir my chocolate, because sometimes when I get impatient I can use it to bash on the chocolates and break them into smaller bits. A floppy rubber spatula just isn't hurtful enough.
Once the chocolates have been fully melted into a bowl of brown delicious goop, most people don't know this, but to get the shine and nice brittle texture and also the nice thick chocolaty aroma, you have to undergo a process called "SEEDING". I know this is getting a bit too technically for most simpletons but don't let this process discourage you and thinking that chocolate is some kind of rocket science. All you have to do to seed the chocolate is to add in about 1/3 of the original amount of the chocolate that you have melted. What this will do is drop down the warm liquid chocolate temperature to a cooler state and by doing this you are also "tempering" chocolate. "Tempering" is a simple term which means to stabilize the crystals in the cocoa butter that is present in couverture chocolates and this is done by heating the chocolate to about 34 degree C and then seeding it with 1/3 of the chocolate to drop the temperature down to about 32C.
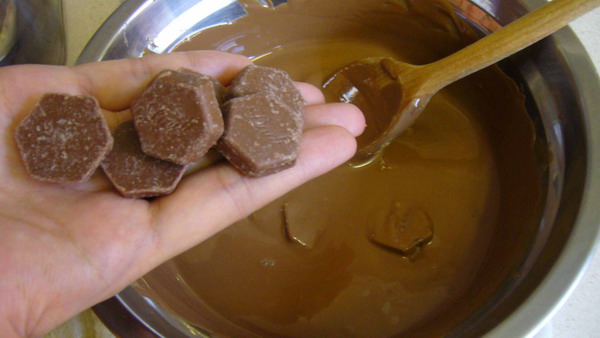
It is a simple process however it takes a bit of practice if you want to prefect the glossy shine on the end product.
I was told by a master chef that the more times you seed the chocolate, the more glossy the end product will be and that's what is being practice at most chocolate competitions.
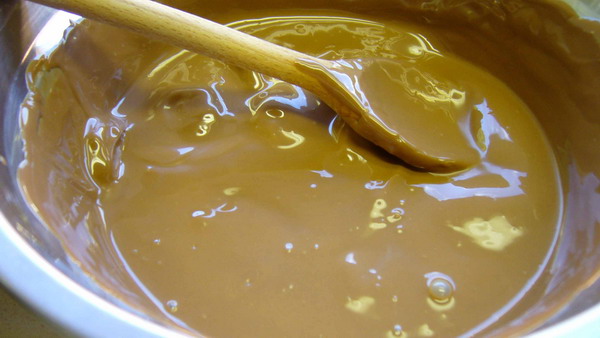
So once all the chocolate has been melted, including the seeds, it should like the picture above. Nothing fancy, nothing too special, just melted chocolate in general. Now, it is important when you are string the chocolate that you don't stir too fast and it is NOT a good idea to use a whisk either. The reason why string too fast or using a whisk is not a good idea is that both will incorporate air into the melt chocolate thus creating air pockets, bubbles.
I decided to go with a Fleur De Lis shaped chocolate mold, just because it looked prestige in design and since I'm using lindt chocolate, I thought it was best suited. So again, very easy steps, using a spoon and slowly dizzile the chocolate into the mold cavities and they fill up. You can wipe the edges of the cavities if you want them to look prefect without any extra flaps sticking out.
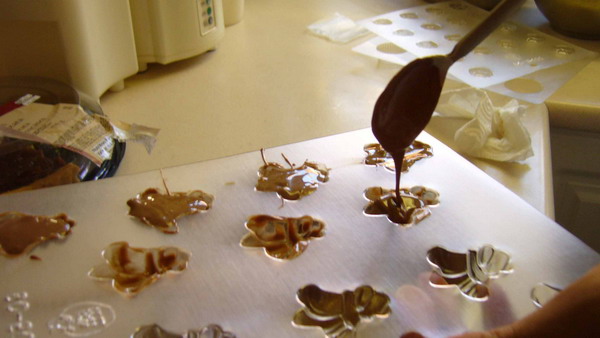
Once the molds have been filled, they go straight into the fridge, not the freezer and give them 5-10 minutes to cool and harden.
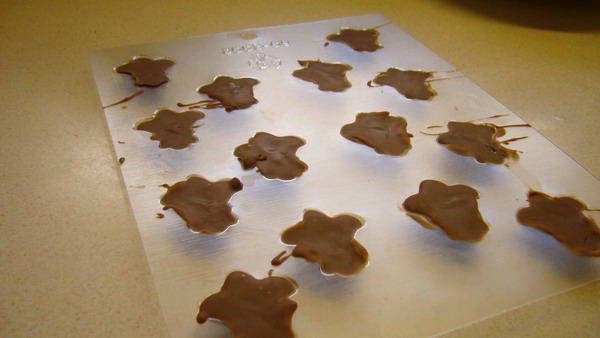
This is after they have been fooled in the fridge and to pop them out, it's fairly easy as well. Just tap it on the counter top and that will send a vibration through out the cavities, releasing the chocolate off the mold. It may take a few taps on the counter to get them all off the mold and just be gentle with them. .
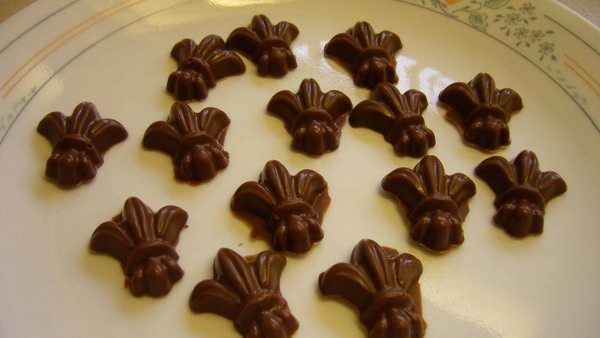
Okay, so these are the end results and I give it a 8/10 just because I didn't quite get the tempering correctly so the glossy shine wasn't present 100%. However, they tasted great, and I was pretty happy with them.
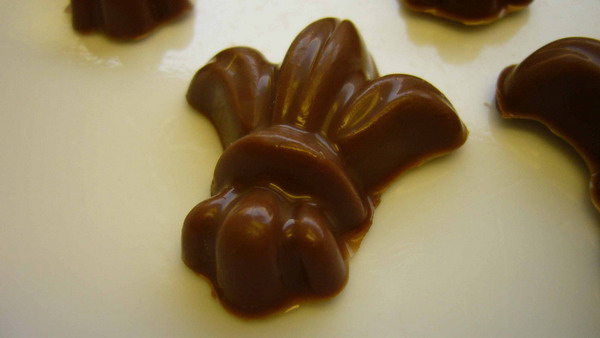
Fleur De Lis Chocolates.
|